UE5《Easy Procedural Walker》plugin instruction
1. Introduction
EasyProceduralWalker is a simple UE plugin for multi-legged creature locomotion. Built on TwoBoneIK, it can drive only two bones (three joints) per leg.
Before using the plugin, you need to know how to set up a TwoBoneIK node for a single leg.
2. Usage
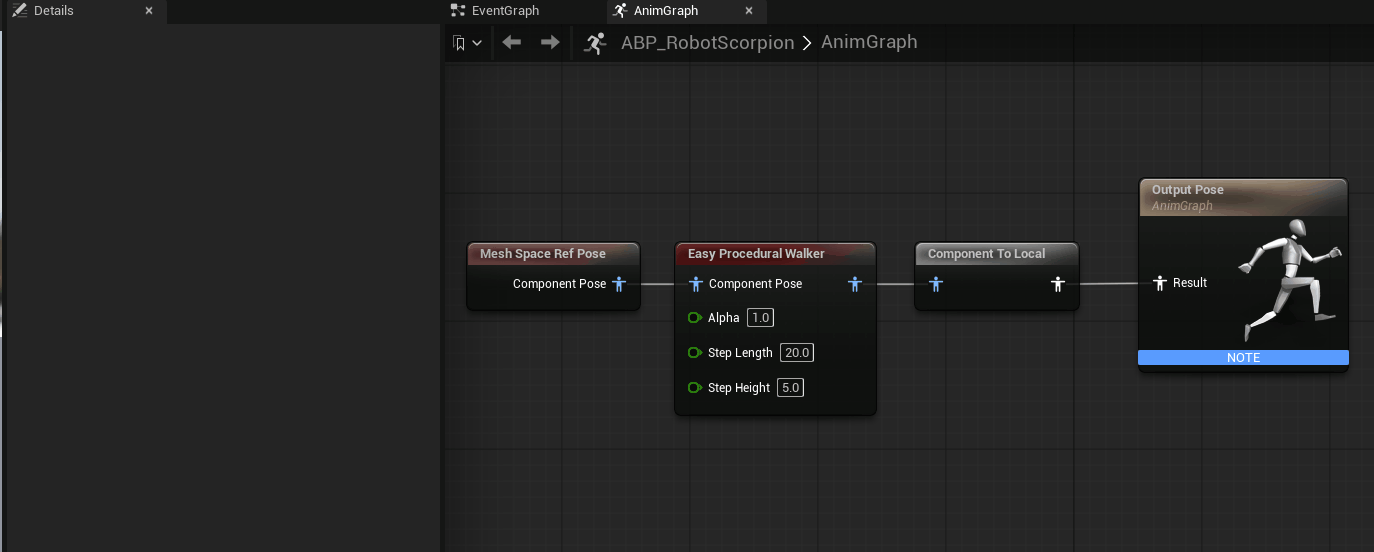
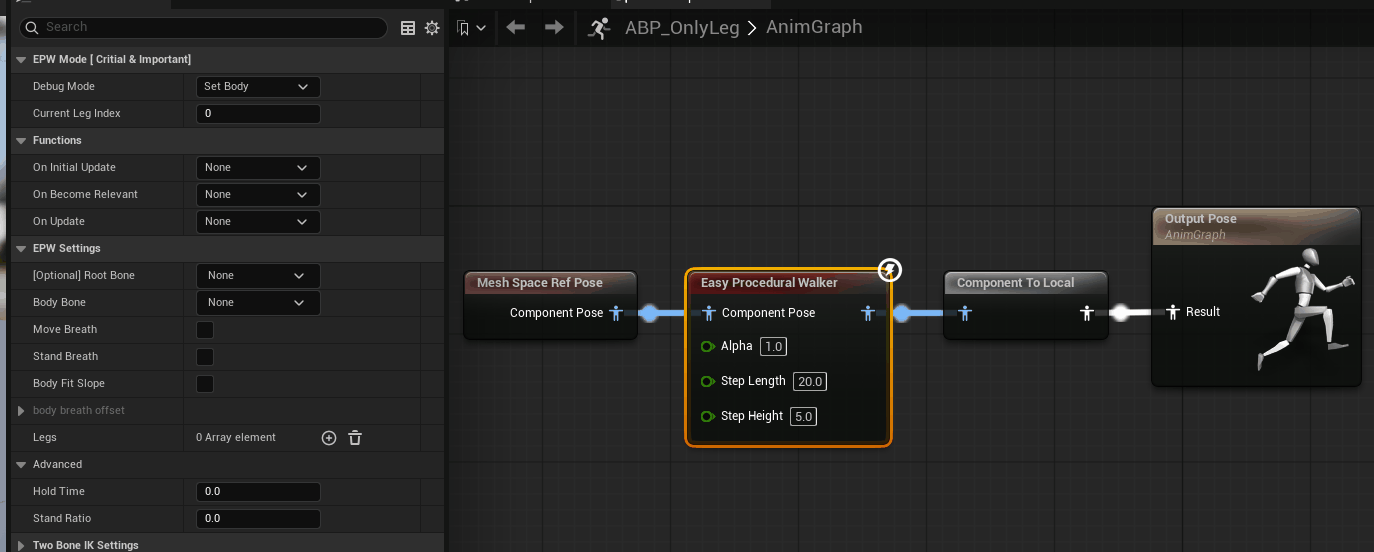
Create an “Easy Procedural Walker” node in your AnimGraph, connect its input to the “Mesh Space Ref Pose” node, and connect its output to the “Output Pose” node. 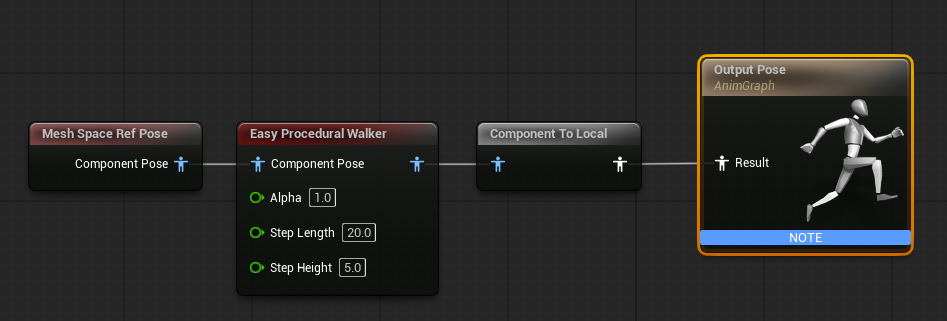
In the Details panel there are three modes:
- SetBody: configure the two-bone-IK parameters for each leg
- AnimBP Preview: use root motion to preview the results
- Game Play: play in the level
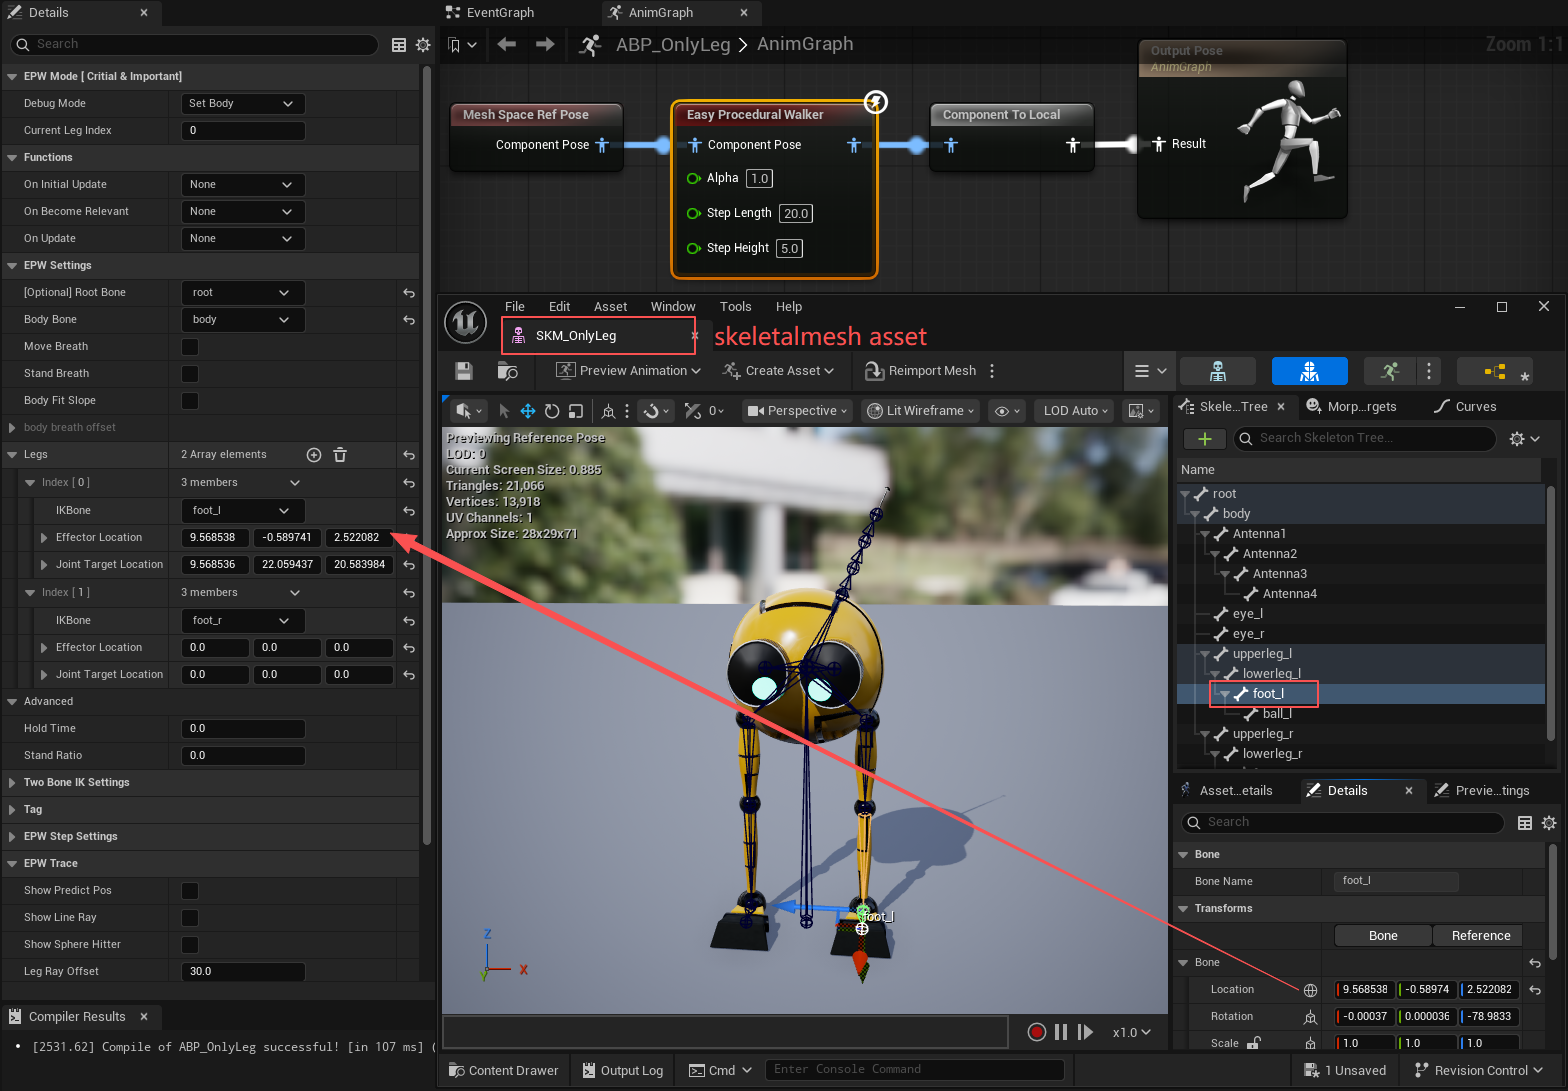
2.1 SetBody
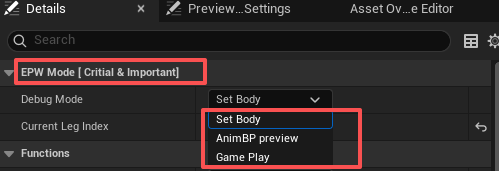
Step 1: In the EPW Mode [Critical & Important] tab
- Set Debug Mode to SetBody
- Set Current Leg Index to 0 which means show the first leg’s TwoBoneIK debug UI.
Step2: In EPW Settings tab
- Set Root Bone and Body Bone
- To add each leg, first adjust the Current Leg Index to the corresponding number. Then, set its
IKBone,Effector Location, andJoint Target Location.- IKBone: the end bone of the leg (usually the foot)
- Effector Location: the world-space position of the foot joint
- Joint Target Location: the world-space point the middle joint aims at
Open your Skeletal Mesh asset, copy the global position, and paste it into the corresponding joint location. Move the JointTargetLocation well away from the middle joint.
 The final result for the left leg should look like this.
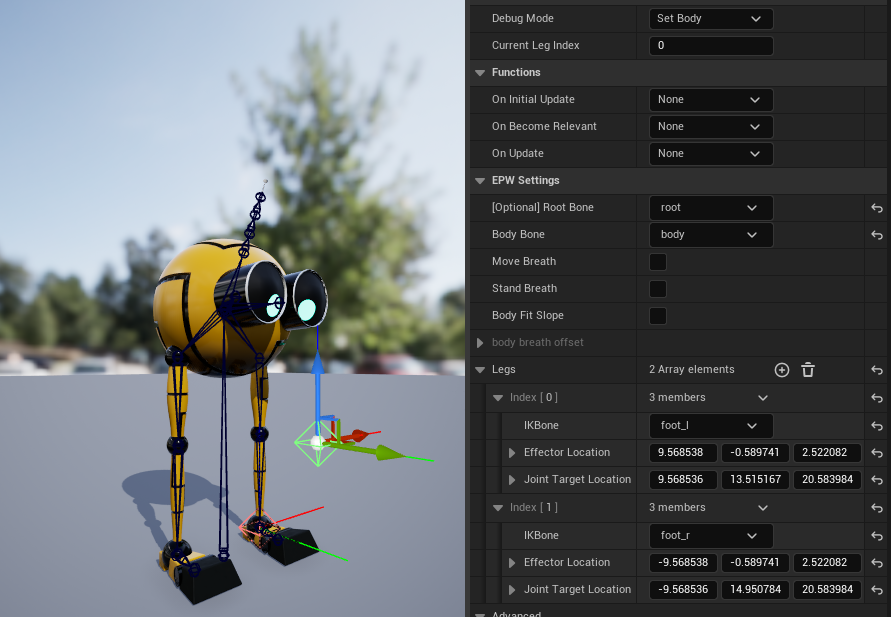
Step3. In EPW Step Settings tab
- If the foot has a heel or shoe, enable Set Default Heel Height and enter the heel height for each leg in Default Heel Height.
- To make several legs move in the same time slot, enable Set Timings Manually and assign a float to each leg.
- Example: the value 0.3 puts the leg in group 0 and makes it start moving at 30 % of that group’s cycle (one complete step).
- Timings Offset: By default it is 1, which means only one leg is defined per group.
The next group starts only after every leg in the previous group has finished. The integer part of the value sets the group; the fractional part sets when, within that group’s cycle, the leg begins to move.
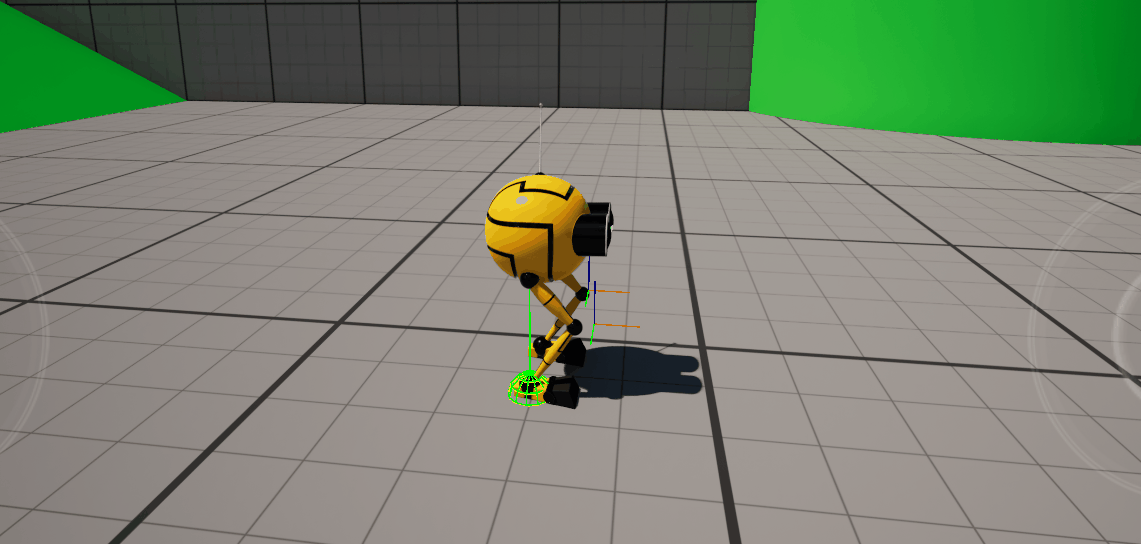
Step 4. In EPW Trace
- Show Predict Pos: display the next target position for each foot and the predicted joint-target location.
- Show Line Ray: toggle line-trace debugging.
- Show Sphere Hitter: toggle sphere-trace debugging.
2.2 AnimBP Preview
Create a test animation asset that moves only the root bone. 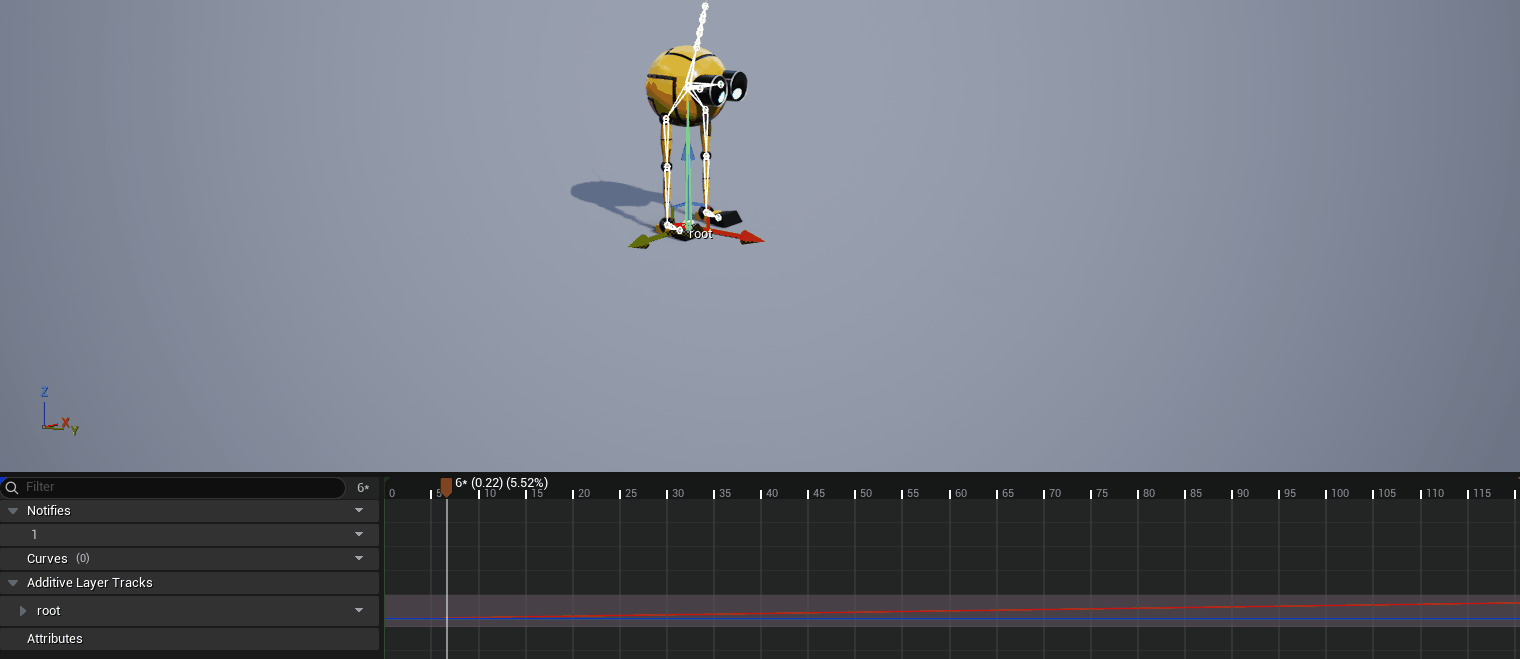
Switch to AnimBP Preview mode and plug the animation into the Easy Procedural Walker node in the AnimGraph. 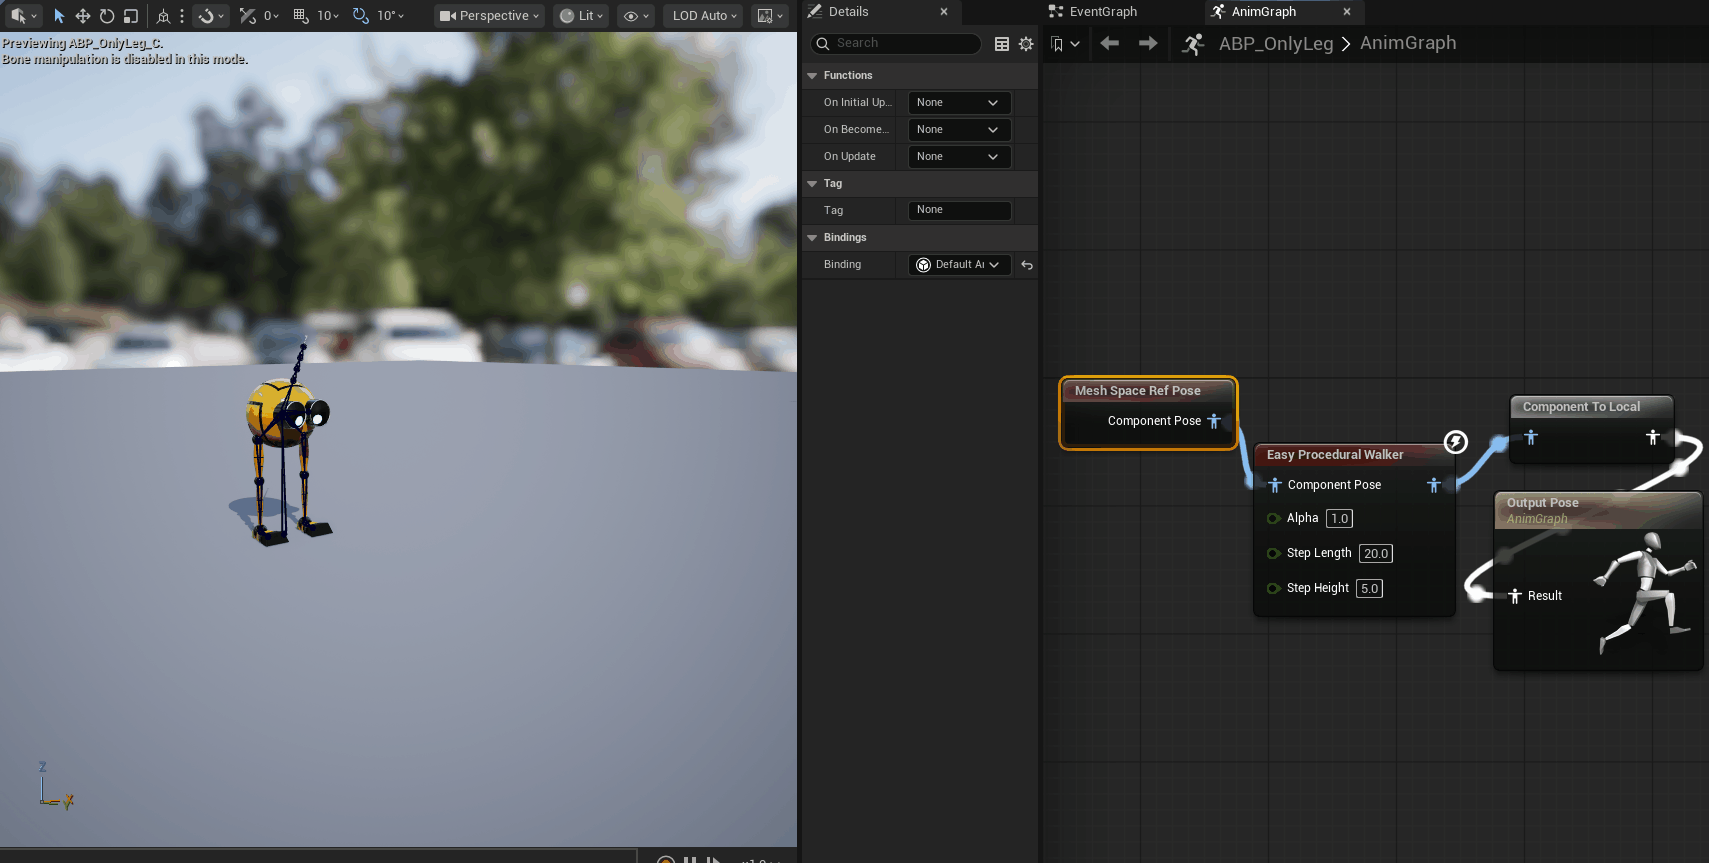
In this step, create animations at different speeds and adjust Step Length and Step Height to suitable values.
2.3 Game Play
If you move the avatar in the game scene, reconnect the node to Mesh Space Ref Pose (or Input Pose) and set Debug Mode to Game Play. 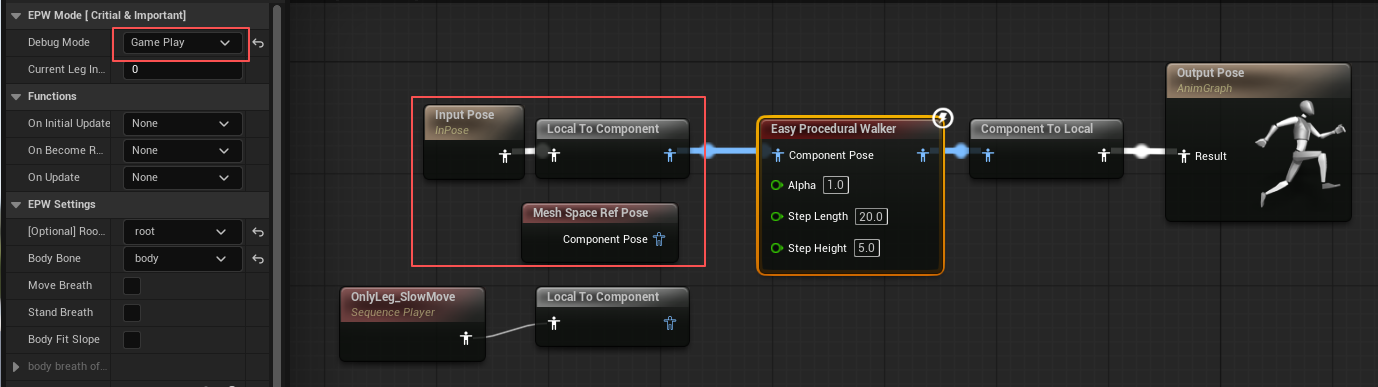
3. Other parameters
In the EPW Settings tab
Move breath: The body moves up and down in sync with each step.Stand breath: The body gently rises and falls while standing still.- Remember to set the
body breath offset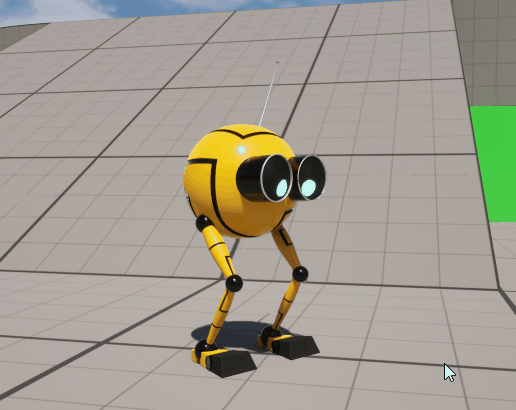
- Remember to set the
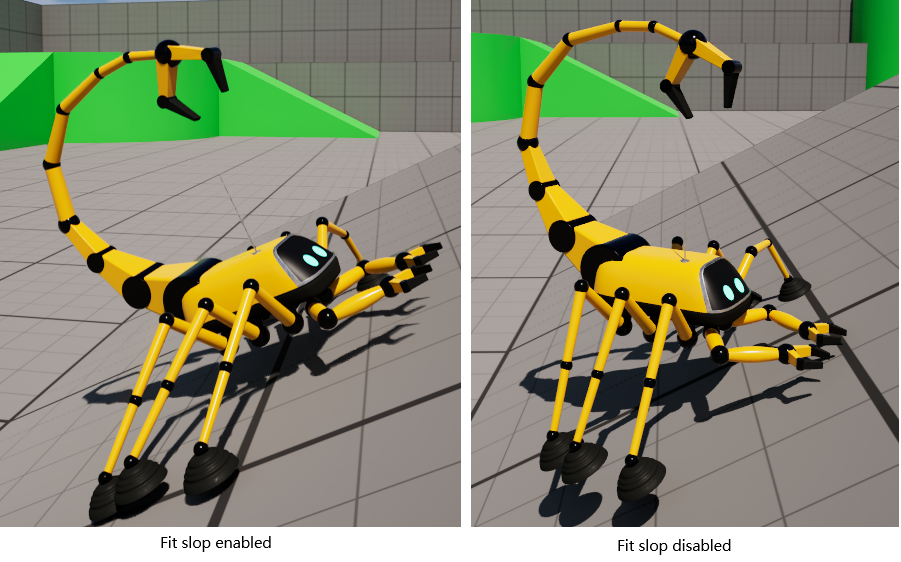
Body Fit slope: The body automatically tilts to match the slope angle as it moves.
Robots with two legs generally don’t need to enable
Body Fit slope; the parameter is more suitable for multi-legged insects.
- Advanced
Hold TimeStand Ratio
Mainly used for controlling the stand time.
For example, if moving the second leg a certain distance takes 1 s, but its
Manual Timingis set to 1.2 (group 1 with a 20 % delayed start),Stand Ratioto 0.2 (20 %), andHold Timeto 0.5s, then the step starts at 0.2s, moves from 0.2s to 0.8s, stands for the remaining 0.2s, and must stay in place for an additional 0.5 s.
You should rarely change these two advanced parameters, as doing so may cause unexpected movements.
Examples
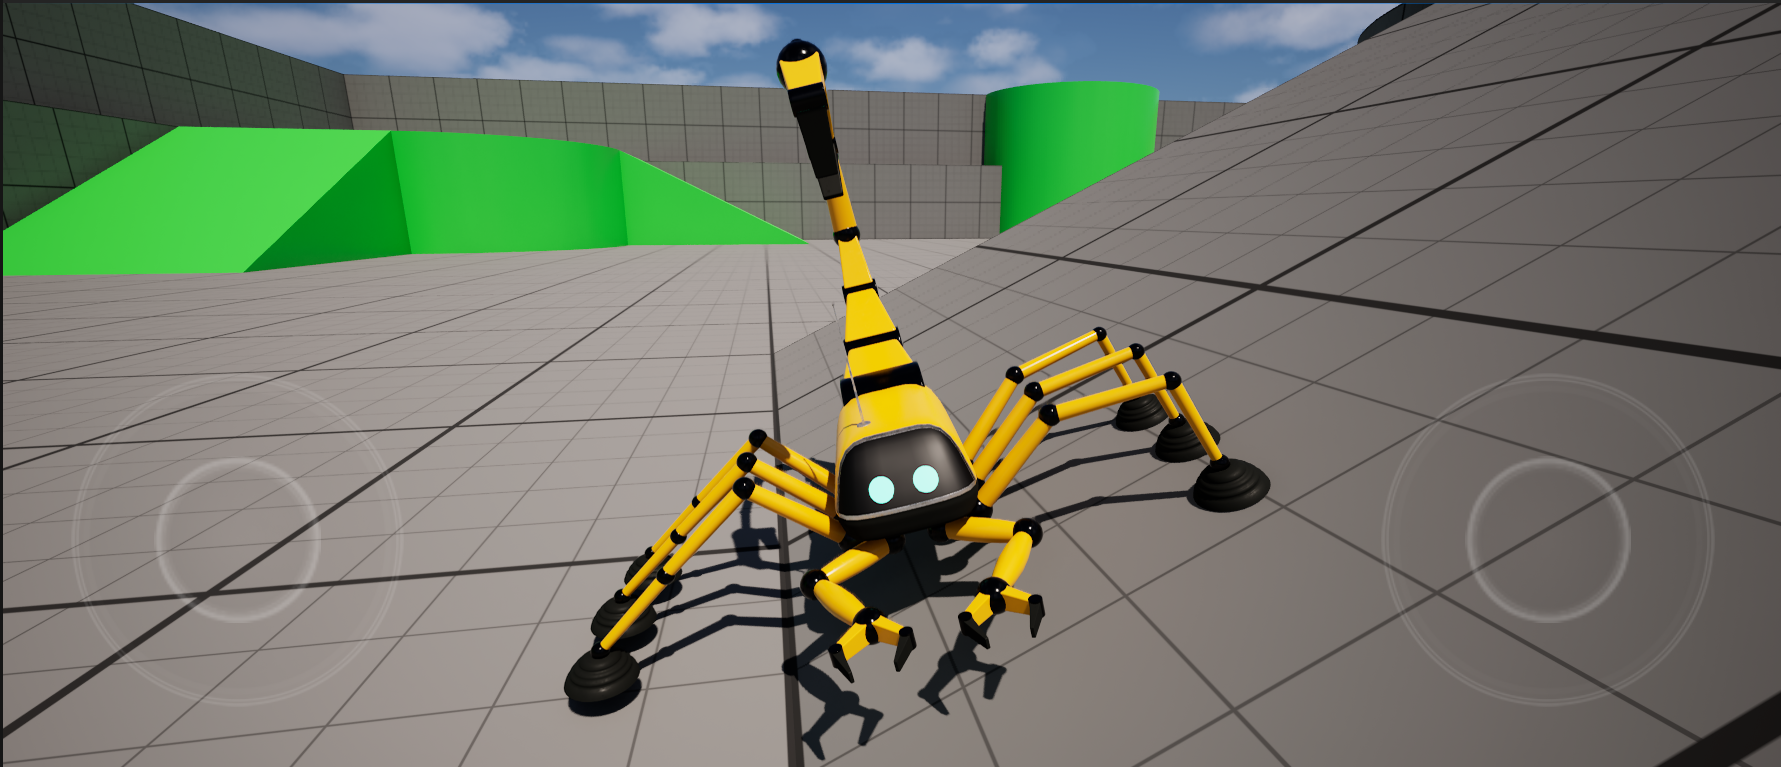
In UE 5.7, first import the Control Rig Samples Pack into your project.
Next, unzip the provided archive into your Content folder; you will obtain two Animation Blueprints for SKM_OnlyLeg and SKM_RobotScorpion, along with sample animations.:https://1drv.ms/u/c/53c607b8bea23158/IQC8ji7fVj5-Qb8Rt45PIUrnAZSZsfDkAkWgUinfEjlJ1sk?e=wAusGU
The Animation blueprint use AnimBP Preview mode by default. If you want to use the ThirdPerson template, please change to GamePlay mode and assign the SkeletalMesh and corresponding ABP to your
BP_ThirdPersonCharacter.uassetand adjuest themax walk speedin this CharacterBP.
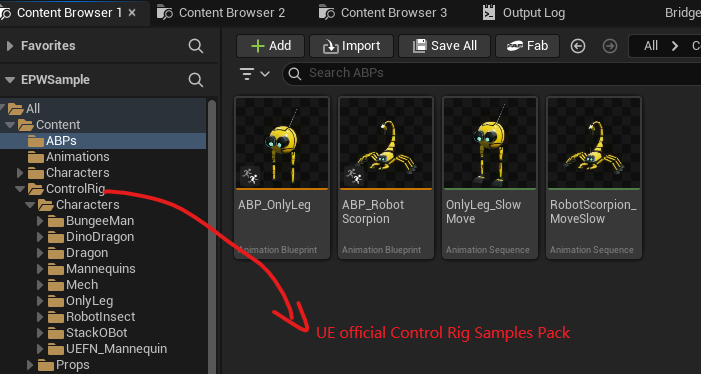
Open one of the ABP_xxx blueprints and you will see the results in the Animation Blueprint preview window.
Video tutorials
English version:
Chinese version: